However, if you have performed a clean installation of Windows 11, a random name might appear on your PC. You would like to change this name to your liking. The good thing is that Microsoft does allows you to rename your Windows 11 PC in simple steps. If you have multiple devices at home like smartphones, tablets, desktops, laptops, and you connect those devices with the wireless network, it’s best to rename the Windows 11 PC name. Doing this will make it easier to find your PC on a network with several other devices. Also read: How to Change Windows 11 Lock Screen Wallpaper
List of 2 Methods to Rename Your Windows 11 PC
There are two ways to rename a Windows 11 PC. You can change your Windows 11 PC’s name via Settings or via Command Prompt. Both of the methods were easy to follow. Hence, in this article, we are going to share the two best methods to rename your Windows 11 PC. Let’s check out.
1. Using System Settings
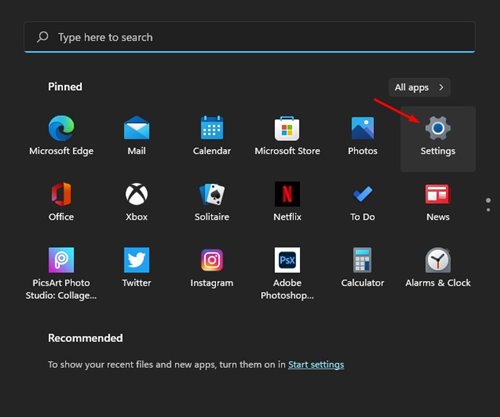
Well, in this method, we are going to use the System Settings page to rename Windows 11 computers. Here’s what you need to do. Step 1. First of all, click on the Start button and select ‘Settings‘.
Step 2. On the Settings page, click on the ‘System‘ option.
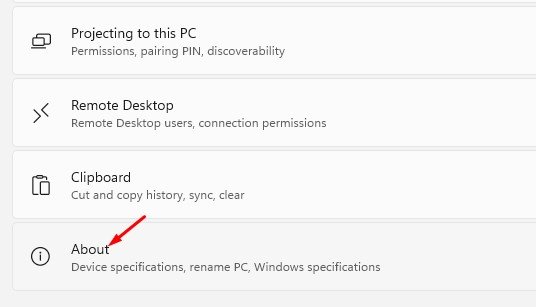
Step 3. On the right pane, scroll down and click on the ‘About‘ option.
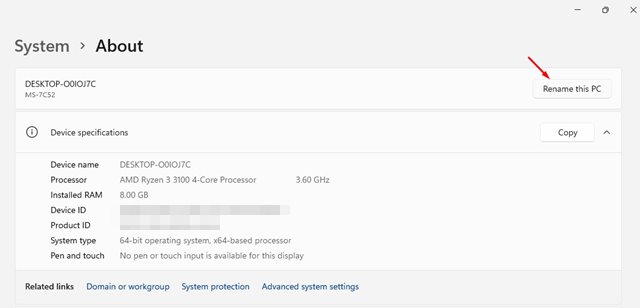
Step 4. On the next page, click on the ‘Rename this PC’ option.
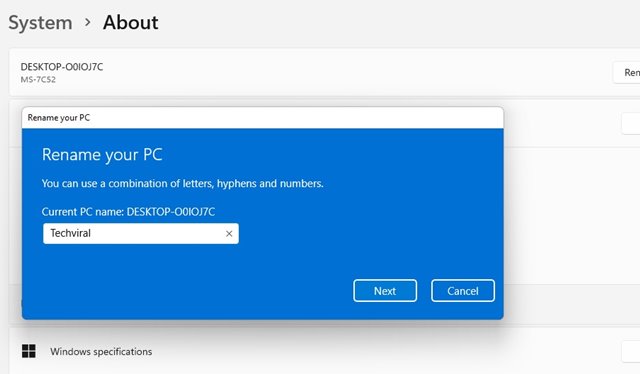
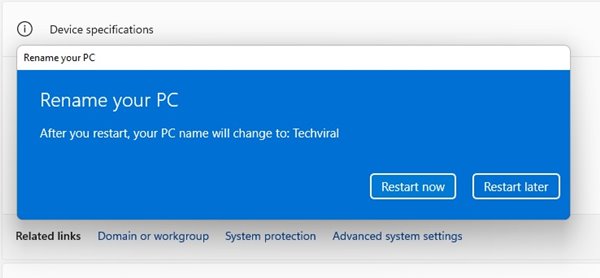
Step 5. On the next Window, enter the PC name and click on the ‘Next‘ button.
Step 6. Finally, click on the ‘Restart Now’ button to rename the Windows 11 PC.
That’s it! You are done. This is how you can rename your Windows 11 PC.
2. Rename Windows 11 PC via Command Prompt
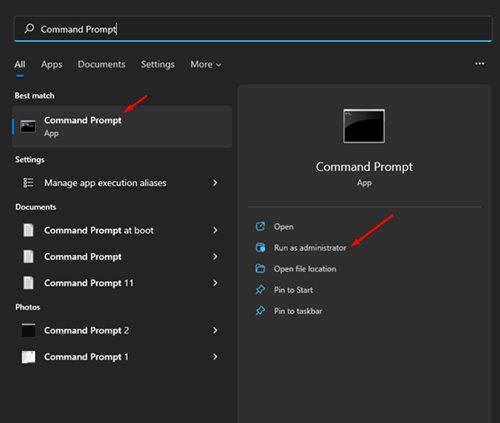
In this method, we are going to use the Command Prompt utility to rename the Windows 11 computer. Here’s what you need to do. Step 1. First of all, open Windows Search and type in ‘Command Prompt. Right-click on the CMD and select ‘Run as administrator’
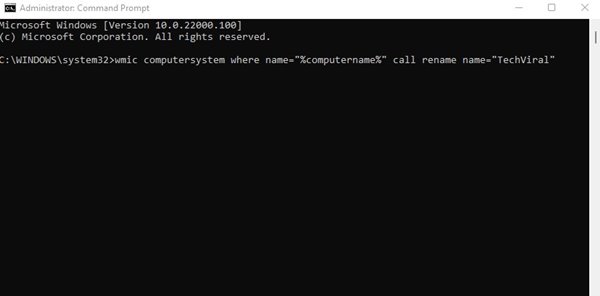
Step 2. On the Command Prompt Window, enter the following command: wmic computersystem where name="%computername%" call rename name=“NewPCName”
Important: Replace the ‘NewPCName’ with the new name for your PC. Step 3. Command Promot will display the success message. It should display ‘Method Execution Successful’.
That’s it! You are done. Now just restart your PC to apply the changes. So, this guide is all about how to rename your Windows 11 PC. I hope this article helped you! Please share it with your friends also. If you have any doubts related to this, let us know in the comment box below.